
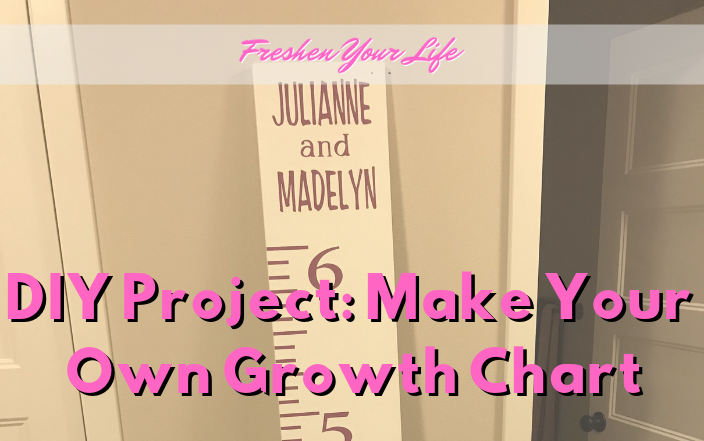

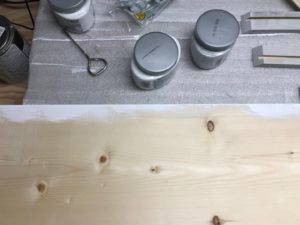
I decided I wanted to make a personalized gift for my nephews and daughters so I thought a growth chart would be something that they can use for many years rather than just more toys for Christmas. I couldn’t imagine spending $99 on a Pottery Barn Growth Chart so I thought I would make my own. I was able to make this for $25-$30, which I feel is pretty fair. The most time-consuming part was painting and waiting for it to dry. I gathered all of the items above beforehand and started working on the project.
What you will need to purchase
- Pine Board (I used a 1”x 9”x 8 ft)
- Vinyl (2 different colors)
- Cricut machine
- Satin Paint (I purchased the sample size from Lowes)
- Paint Brush
- Sand paper or hand sander
- Blue painters tape
- T-square or Ruler
- Tape measure
- Pencil or marker
- Hanging method-sawtooth hanger, anchors and screws, ect.
Step 1:
First starting with sanding the board down to make sure that the edges and the knots in the wood are smooth. Depending on the wood, you may have to clean it up quite a bit with a coarse sand paper.
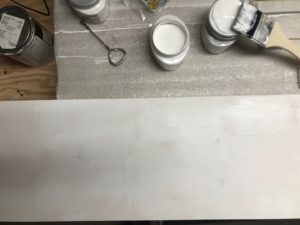
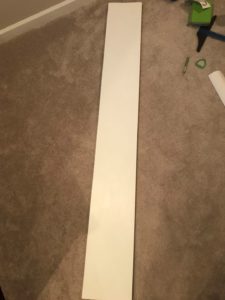
Step 2:
Start painting the wood. I wanted to make sure I got a nice even coat so I did 3 even coats of paint on each side including the edges. Make sure to evenly brush so you do not have brush strokes. You can also use a sponge, if you prefer. Let the paint dry between each coat.
Step 3:
Start to cut the vinyl with the Cricut.
I created
5 – 3” by .25” lines (1 ft markers)
5 – 2.5” by .25” lines (6” markers)
10 – 2” by .25” lines (3” markers)
44 – 1.5” by .25” lines (1” markers)
Numbers 2-6
I decided to skip on the one because I needed to take into account the trim on the wall where it will be mounted.
Step 4:
Attached a piece of painter’s tape down the middle of the board. Use a markers or pencil to mark out every inch on the board and to signify the foot mark, I made the mark a bit longer. Use a T-square to attach the vinyl lines to the board straight across from the mark on the painter’s tape.
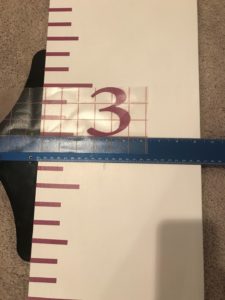
Step 5:
You can eyeball the numbers on the board or you can measure them out to make sure they are straight. 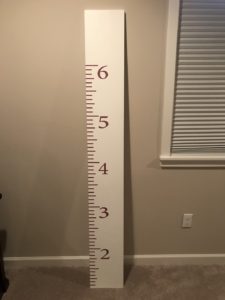
Step 6:
To personalize the board, I cut the names out of the vinyl and attached them as well. You may do this to add a personal touch or you can leave this off. If this is a gift, you can add your own personal touch with your name. I added mine on the side of the board so it is visible when mounted.


Subscribe to our Awesome Newsletter.